GatsbyJS × TypeScript製のサイトにStorybookを導入する
2019.6.8
GatsbyJS製の静的サイトでStorybookを使うと結構いい感じにパーツごとに分けて作ることができて良いんじゃないかなと思いやってみました。同じデザインで画像などのコンテンツが異なるだけのページを作るときなんかに効果的です。また、普通にhtmlで作るときはエディタの文法の間違いなんかは見つけづらいですが、TypeScriptで書くことでそれもなくせます。
基本的にはこのページを参考に進めます。
Visual Testing with Storybook | GatsbyJS
インストールします。
npm install -D @storybook/cli
GatsbyJSのプロジェクトのルートでStorybookを初期化します。
./node_modules/.bin/sb init
Storybookの設定ファイル.storybook/config.jsを下記のようにします。
import { configure } from "@storybook/react"
import { action } from "@storybook/addon-actions"

// automatically import all files ending in *.stories.js
const req = require.context("../stories", true, /.stories.js$/)
function loadStories() {
  req.keys().forEach(filename => req(filename))
}

// Gatsby's Link overrides:
// Gatsby defines a global called ___loader to prevent its method calls from creating console errors you override it here
global.___loader = {
  enqueue: () => {},
  hovering: () => {},
}
// Gatsby internal mocking to prevent unnecessary errors in storybook testing environment
global.__PATH_PREFIX__ = ""
// This is to utilized to override the window.___navigate method Gatsby defines and uses to report what path a Link would be taking us to if it wasn't inside a storybook
window.___navigate = pathname => {
  action("NavigateTo:")(pathname)
}
configure(loadStories, module)
Storybook用のwebpack設定ファイル.storybook/webpack.config.jsを下記のようにします。
module.exports = ({ config }) => {
  // Transpile Gatsby module because Gatsby includes un-transpiled ES6 code.
  config.module.rules[0].exclude = [/node_modules\/(?!(gatsby)\/)/]

  // use installed babel-loader which is v8.0-beta (which is meant to work with @babel/core@7)
  config.module.rules[0].use[0].loader = require.resolve("babel-loader")

  // use @babel/preset-react for JSX and env (instead of staged presets)
  config.module.rules[0].use[0].options.presets = [
    require.resolve("@babel/preset-react"),
    require.resolve("@babel/preset-env"),
  ]

  config.module.rules[0].use[0].options.plugins = [
    // use @babel/plugin-proposal-class-properties for class arrow functions
    require.resolve("@babel/plugin-proposal-class-properties"),
    // use babel-plugin-remove-graphql-queries to remove static queries from components when rendering in storybook
    require.resolve("babel-plugin-remove-graphql-queries"),
  ]

  // Prefer Gatsby ES6 entrypoint (module) over commonjs (main) entrypoint
  config.resolve.mainFields = ["browser", "module", "main"]

  return config
}
package.jsonのscriptsに下記を追記します。既にある場合は上書きします。
{
  "scripts": {
    "storybook": "NODE_ENV=production start-storybook -s static",
    "build-storybook": "NODE_ENV=production build-storybook -s static"
  }
}
起動します。
npm run storybook
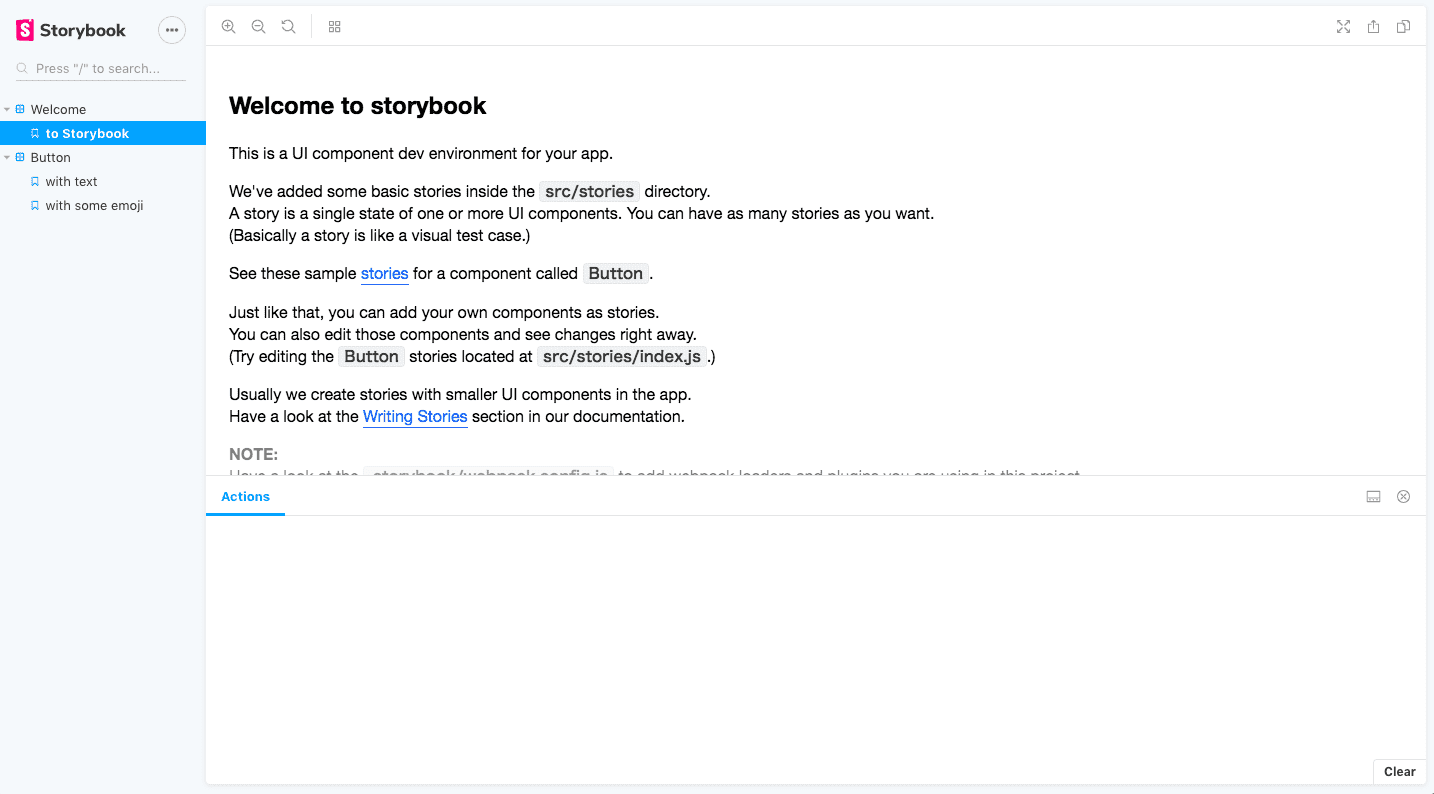
起動できました。
StorybookにTypeScriptを導入する
こちらに導入の説明があるのでそれに沿って進めます。awesome-typescript-loaderを使った方法ではエラーが出て詰まってしまったのでbabel-loaderを使った方法を用います。
src/配下の.stories.tsxファイルを読み込ませるようにしたいので.storybook/config.jsの読み込み部分を下記のように変えます。
...
const req = require.context("../src", true, /.stories.tsx$/)
...
babel-loaderでTypeScriptのファイルを読めるように設定を.storybook/webpack.config.jsに加えます。
...
config.module.rules.push({
  test: /\.(ts|tsx)$/,
  loader: require.resolve('babel-loader'),
  options: {
    presets: [['react-app', { flow: false, typescript: true }]],
  },
});
config.resolve.extensions.push('.ts', '.tsx');
...
header.stories.tsxを作成します。
import React from 'react';
import { storiesOf } from '@storybook/react';
import Header from "./header";

storiesOf('Welcome', module).add('to Storybook', () => <Header siteTitle={"Storybook"} />);
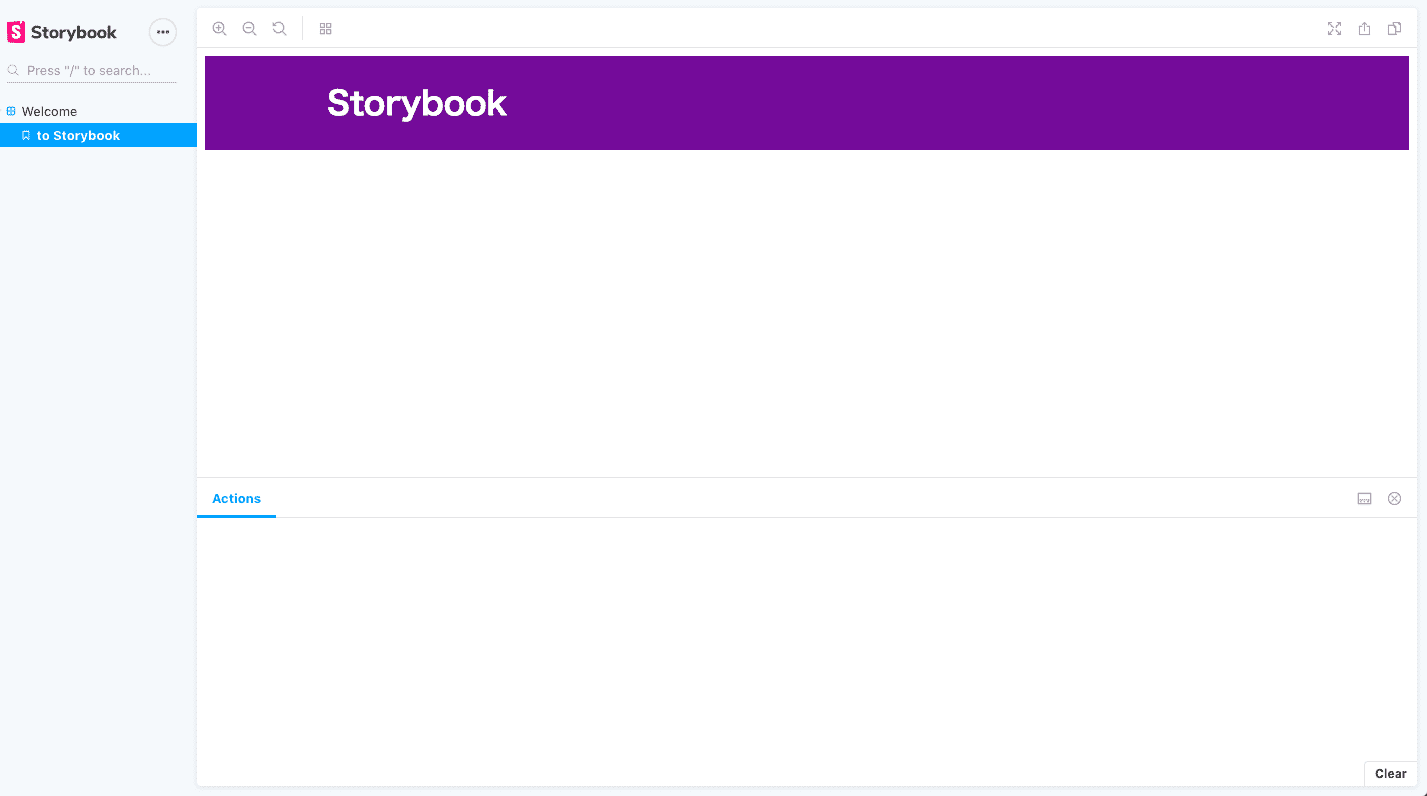
起動できました。

